How to Use Ninja Creami Like a Pro: Simple Guide
Table of Contents
Learning how to use Ninja Creami effectively transforms your kitchen into a premium ice cream parlor. This revolutionary appliance has changed how home cooks create frozen treats, offering restaurant-quality results with minimal effort. Whether you’re crafting protein-packed ice cream or indulgent sorbets, mastering your Ninja Creami opens up endless possibilities for healthy and delicious frozen desserts.
The Ninja Creami’s unique spinning technology sets it apart from traditional ice cream makers, allowing you to transform frozen bases into creamy perfection in minutes. Understanding how to use Ninja Creami properly ensures consistent results every time, from selecting the right ingredients to perfecting your technique.
What Is the Ninja Creami and How Does It Work?
Overview of the Ninja Creami Machine
The Ninja Creami revolutionizes frozen dessert creation through its innovative Creamify Technology. Unlike traditional churning methods, this machine uses a specialized spinning blade that processes completely frozen bases into smooth, creamy textures. The unit features a powerful motor that drives the blade through frozen ingredients, creating microscopic ice crystals that result in professional-quality texture.
The machine’s compact design fits easily on most countertops, making it accessible for daily use. Its simple operation involves freezing your base mixture for 24 hours, then processing it through the selected function. This straightforward approach to how to use Ninja Creami makes it perfect for both beginners and experienced home cooks.
Key Functions: Re-Spin, Mix-Ins, and Presets
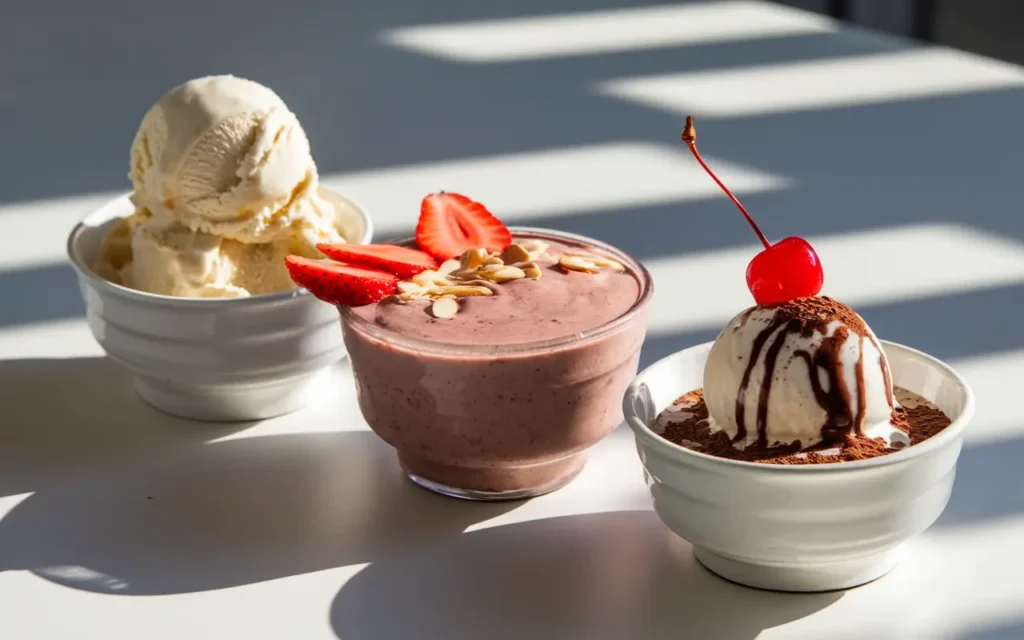
Understanding the Ninja Creami’s preset functions is crucial for optimal results. The machine offers seven distinct programs:
- Ice Cream: Perfect for traditional dairy-based recipes
- Lite Ice Cream: Ideal for lower-calorie alternatives
- Sorbet: Designed for fruit-based frozen treats
- Milkshake: Creates thick, creamy beverages
- Smoothie Bowl: Produces thick, spoon-able consistency
- Gelato: Achieves dense, rich Italian-style texture
- Mix-In: Incorporates add-ins without compromising texture
The Re-Spin feature proves invaluable when your initial result needs additional processing. This function allows you to reprocess the mixture for smoother consistency without starting over. The Mix-In function enables you to add chocolate chips, nuts, or fruit pieces while maintaining the creamy base texture.
Ninja Creami Deluxe vs. Original Model
| Feature | Original Ninja Creami | Ninja Creami Deluxe |
|---|---|---|
| Capacity | 16 oz pints | 24 oz containers |
| Programs | 7 preset functions | 11 preset functions |
| Container Options | Standard pints only | Multiple size options |
| Additional Features | Basic operation | Dual processing bowls |
| Price Point | Budget-friendly | Premium option |
The Deluxe model offers expanded capacity and additional programs, including options for larger batches and specialized textures. However, the original model provides excellent value for most home users learning how to use Ninja Creami effectively.
What Makes It Different from Other Ice Cream Makers?
Traditional ice cream makers require pre-chilling bowls and continuous churning during the freezing process. The Ninja Creami eliminates these limitations by processing completely frozen bases. This approach offers several advantages:
- No pre-chilling requirements
- Faster processing time (2-3 minutes vs. 20-30 minutes)
- Better texture control through Re-Spin functionality
- Ability to create single servings on demand
- Superior handling of low-fat and protein-rich recipes
Getting Started: What You Need Before You Blend
Ninja Creami Pint Containers and Freezer Prep
Proper preparation ensures successful results when learning how to use Ninja Creami. The included pint containers feature measurement marks and secure lids that prevent freezer burn. Always fill containers to the MAX FILL line—overfilling creates processing difficulties, while underfilling may result in uneven texture.
Organize your freezer space to accommodate multiple pints. Designate a level area where containers can freeze evenly. Consider investing in additional pint containers to maintain a steady supply of frozen bases ready for processing.
How Long to Freeze Before Spinning
The freezing timeline directly impacts your final results. Follow these Ninja Creami instructions for optimal freezing:
- Minimum freeze time: 24 hours for standard recipes
- Protein-heavy bases: 24-36 hours for best results
- High-water content recipes: 36-48 hours recommended
- Alcohol-containing bases: 48+ hours due to lower freezing point
Temperature consistency matters more than exact timing. Ensure your freezer maintains 0°F (-18°C) for proper freezing. Avoid opening the freezer frequently during the initial freezing period.
Choosing Ingredients for Best Texture (Protein, Low-Calorie, etc.)
Ingredient selection significantly affects your final texture. Understanding how different components behave helps you master how to use Ninja Creami for various dietary needs:
Fat content provides richness and smooth mouthfeel. Full-fat dairy produces the creamiest results, while alternatives like coconut cream work well for dairy-free options.
Protein powders require careful handling. Whey protein blends smoothly, while plant-based proteins may need additional liquid. Add protein powder gradually to prevent clumping.
Sweeteners affect freezing properties. Natural sugars freeze differently than artificial alternatives. Monk fruit and stevia work well, but may require texture adjustments through additional liquid or Re-Spin cycles.
Cleaning and Assembling the Machine Properly
Proper maintenance extends your machine’s lifespan and ensures food safety. The Ninja Creami operation guide emphasizes these cleaning protocols:
- Disassemble all removable parts after each use
- Hand wash containers and lids with warm, soapy water
- Wipe the motor base with a damp cloth—never submerge
- Clean the processing lid immediately to prevent residue buildup
- Ensure all parts are completely dry before storage
Regular deep cleaning prevents flavor transfer between batches and maintains optimal performance.
Step-by-Step: How to Use Ninja Creami for Perfect Results
Filling the Pint and Freezing Tips
Success begins with proper pint preparation. Mix your base ingredients thoroughly before pouring into the container. This prevents separation during freezing and ensures uniform texture. Level the mixture surface using a spatula—this creates even freezing and better processing results.
Store filled pints upright in the freezer’s main compartment, away from the door where temperature fluctuates. Label containers with contents and freeze date for easy identification.
Selecting the Right Function (Ice Cream, Sorbet, Lite Ice Cream)
Program selection depends on your base ingredients and desired outcome. The Ice Cream setting works best for full-fat dairy bases, while Lite Ice Cream accommodates lower-fat alternatives. Sorbet excels with fruit-based recipes, and Smoothie Bowl creates thick, spoon-able textures perfect for breakfast bowls.
When unsure, start with the most appropriate setting and use Re-Spin if needed. This approach prevents over-processing while achieving your desired consistency.
When and How to Use the Re-Spin Feature
The Re-Spin function rescues imperfect batches and fine-tunes texture. Use Re-Spin when:
- Initial processing leaves icy chunks
- Texture appears too firm or crumbly
- You want ultra-smooth consistency
- Adding liquid to adjust texture
Limit Re-Spin cycles to 2-3 attempts to prevent over-processing, which can create a gummy texture.
How to Add Mix-Ins Without Ruining Texture
The Mix-In function preserves your base’s creamy texture while incorporating add-ins. Prepare mix-ins before starting—chop nuts roughly, break cookies into small pieces, and ensure frozen fruits are properly sized.
Add mix-ins gradually through the ingredient chute while the Mix-In cycle runs. This method distributes ingredients evenly without creating texture problems.
Common Ninja Creami Mistakes to Avoid
Overfilling or Under-Freezing the Pint
Overfilled containers prevent proper blade movement, resulting in uneven processing. Always respect the MAX FILL line, even when ingredients expand during freezing. Under-freezing creates processing difficulties and poor texture—patience during the freezing phase pays off with superior results.
Skipping the Level Freeze Rule
Uneven freezing creates processing challenges. Always freeze pints on level surfaces to ensure uniform ice crystal formation. Tilted containers freeze unevenly, causing blade issues and inconsistent texture.
Using the Wrong Ingredients (What Not to Put In)
Certain ingredients interfere with the Creami’s processing ability:
- Large pieces: Whole nuts or fruit chunks damage the blade
- Hard candies: Can crack or jam the processing mechanism
- Excessive alcohol: Prevents proper freezing
- Very thick bases: May not process completely
When in doubt, test small batches before committing to full recipes.
Cleaning Mistakes That Could Damage the Machine
Improper cleaning leads to mechanical issues and shortened lifespan. Never submerge the motor base in water, and avoid harsh abrasives on plastic components. Clean the processing lid immediately after use—dried residue becomes difficult to remove and affects performance.
Pro Tips to Master Your Ninja Creami
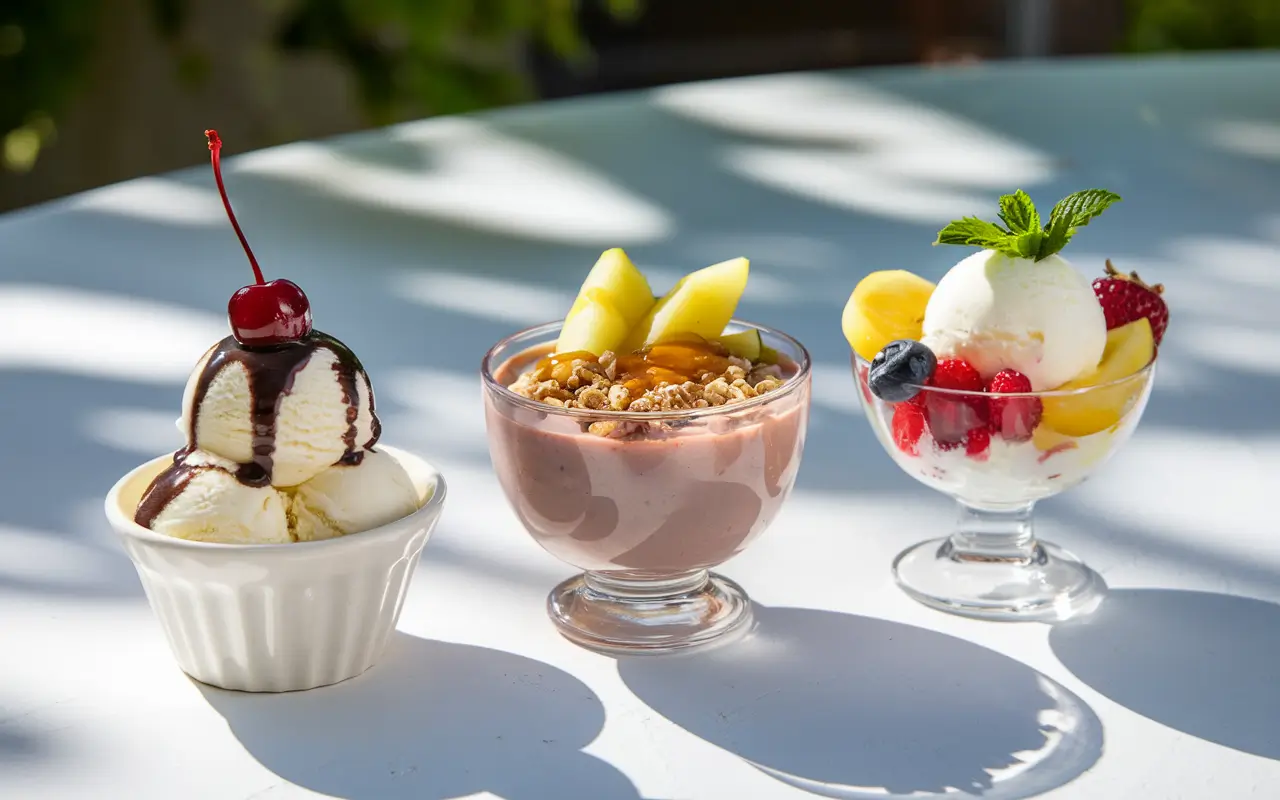
Best Recipes for Beginners (Protein Ice Cream, Sorbet, Smoothie Bowls)
Start with proven recipes that showcase proper Ninja Creami instructions:
Basic Vanilla Protein Ice Cream:
- 1 cup milk of choice
- 1 scoop vanilla protein powder
- 2 tablespoons sweetener
- 1 teaspoon vanilla extract
Simple Berry Sorbet:
- 2 cups frozen berries
- 1/2 cup water
- 3 tablespoons honey
- 1 tablespoon lemon juice
These foundational recipes teach proper technique while delivering delicious results.
How to Customize Texture Based on Ingredients
Understanding ingredient interactions helps you customize texture preferences. Higher fat content creates creamier results, while additional liquid produces softer consistency. Protein powder firms the final product, requiring careful liquid balance.
Experiment with ratios using small test batches before scaling up. Document successful combinations for future reference.
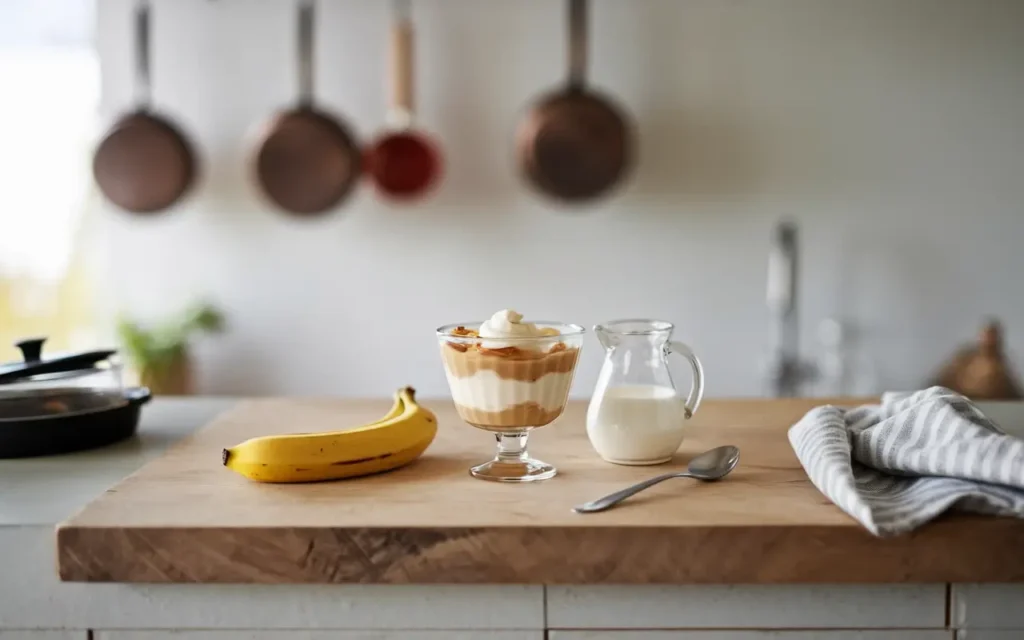
Using Dairy-Free or Keto-Friendly Options
The Ninja Creami excels with alternative ingredients. Coconut cream provides rich texture for dairy-free options, while almond milk creates lighter alternatives. For keto-friendly treats, combine heavy cream with sugar-free sweeteners and flavor extracts.
These specialized diets benefit from the Creami’s texture control—Re-Spin cycles help achieve creamy consistency despite challenging ingredient profiles.
Storage, Meal Prep, and Freezer Organization Tips
| Storage Method | Duration | Best For |
|---|---|---|
| Original container | 1-2 weeks | Single servings |
| Airtight containers | 2-3 weeks | Bulk storage |
| Vacuum-sealed bags | 1-2 months | Long-term storage |
Organize your freezer with designated Creami space. Prepare multiple bases simultaneously for variety throughout the week. Label everything clearly with contents and freeze dates.
Mastering how to use Ninja Creami transforms your approach to frozen desserts, offering endless creativity and superior results. From understanding the machine’s unique processing method to avoiding common mistakes, these techniques ensure consistent success. Whether creating protein-packed treats or indulgent desserts, your Ninja Creami delivers professional-quality results with proper technique and ingredient selection.
The key to Ninja Creami success lies in patience during freezing, proper ingredient selection, and understanding when to use each function. With these fundamentals mastered, you’ll create frozen treats that rival premium ice cream shops while maintaining complete control over ingredients and nutrition.
